Uploading shapefile
Login to the HLPO application
1. Update and apply spatial updates
Update Type
- shapefile (zipped)
- Locate on your local machine
- Upload shapefile
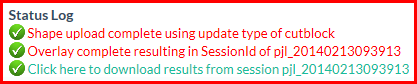
- WAIT! Watch ‘Status Log’ for progress information

- If successful then blocks will be displayed click on block or table record
- Change Map View dropdown to satellite if desired (No DKL imagery)
2. Source Resultant
- Click on dropdown window and select a resultant
Run Overlay
- WAIT! Watch ‘Status Log’ for progress information

- Click on resultant polygon to view record
- After running the overlay there are two options: Download Overlay and Integrate Overlay.
Download Overlay
- To download a copy of the data before proceding to the next step click 'Download Overlay' on the map menu bar.
- WAIT! Watch the 'Status Log' for progress information.
3. To Integrate cutblock Overlay with for LU report click 'Finished' after downloading the data. This will take you to the Database Overlay page.
Integration of Cutblock Overlay with LU Resultants Model
After clicking Finished the application will open a new page called 'Database Overlay'. This step creates a new Source Table from which the
Biodiversity & UWR models are run with the shapefile that was uploaded in the previous step. Includes all remaining area for the LU outside your
overlaid cutblocks to provide a complete LU dataset.
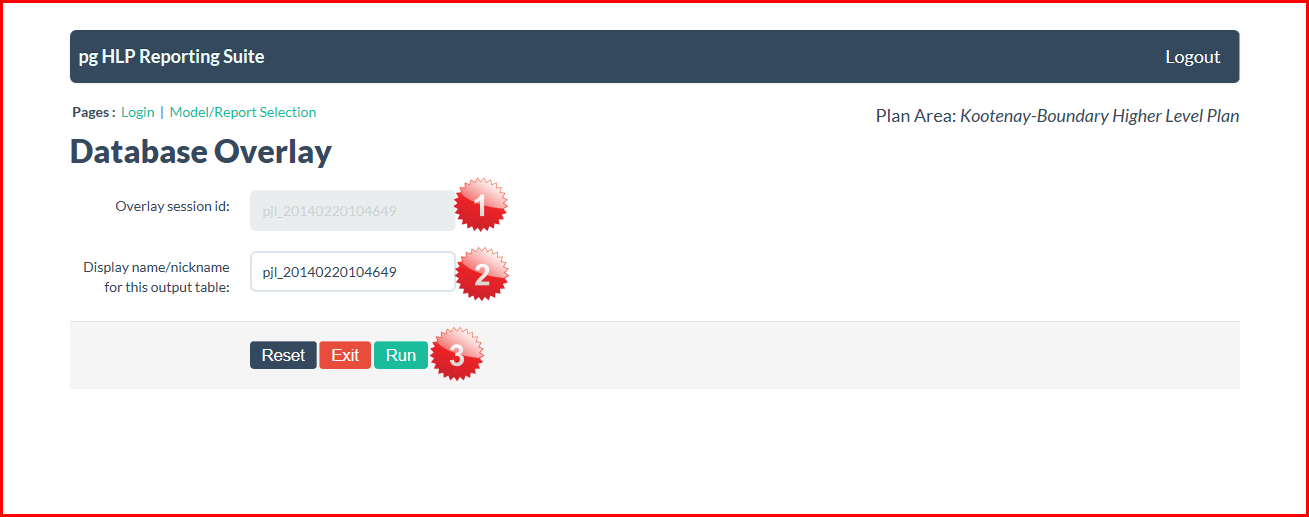
1. Overlay session id
- Automatically populated using userid & datestamp.
2. Display name/nickname for this output table
- Auto loaded with session id or interactively with a user specified name (i.e. “Lemon LU 4 block set on spur 34”). In this example we are simply accepting the default session id. The user is encouraged to use something that will identify the output. The user is highly encouraged to use the interactive naming convention so the name is more descriptive and easier to find at a later time.
3. Click RUN
- DO NOT PUSH ENTER KEY or you will have to upload your cutblocks again
- Wait for completion. The application will return to the selection page for Updates and Reports and Models. The results will be seen in the 'Source Data Table' of the 'New Modeling Result' from the Biodiversity selection or Ungulate Winter Range Selection.
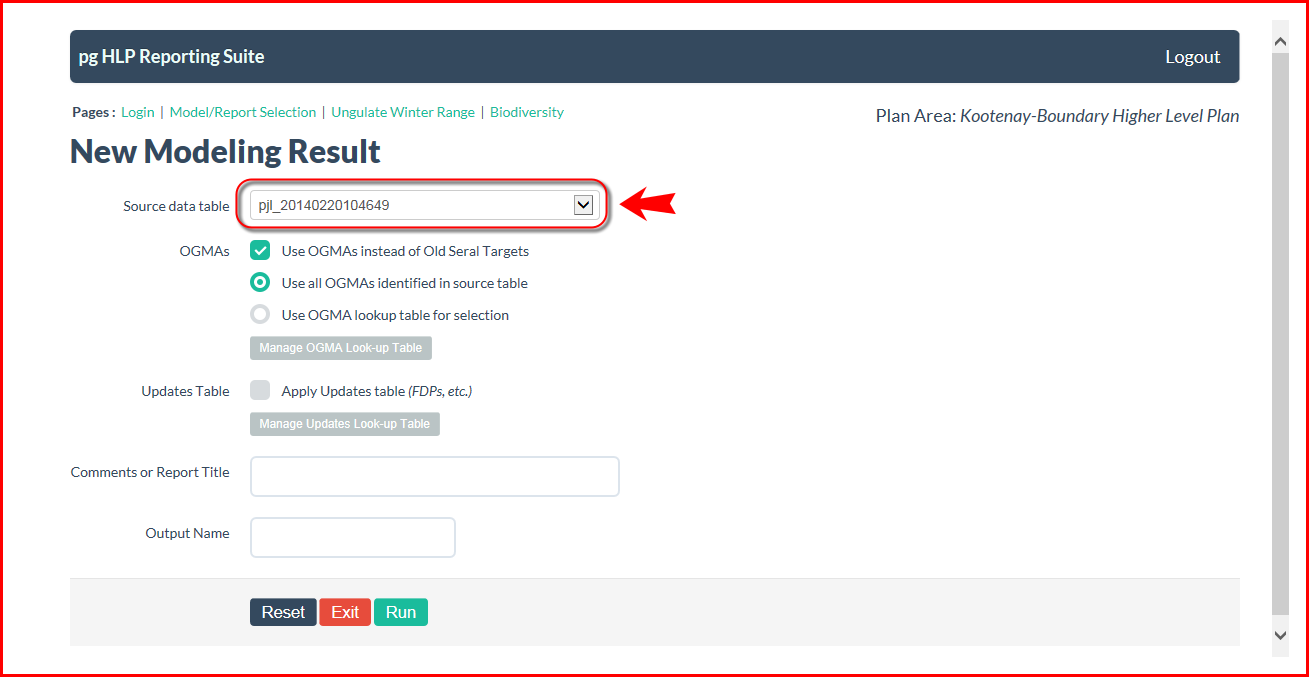
After the overlay process is finished the application will return to the selection page. Choose either 'Biodiversity' or 'Ungulate Winter Range' under 'Reports and models'.
Once the report type is selected click on 'Create New Modeling Results'. You'll notice the 'Source data table' is now populated with the results of your overlay.
Created with the Personal Edition of HelpNDoc: Free Qt Help documentation generator